 |
DeleD Community Edition
Forums
|
| View previous topic :: View next topic |
| Author |
Message |
Alovon
Member

Joined: 21 Jul 2011
Posts: 21
Location: The Middle of Nowhere... USA
|
 Posted: Tue Nov 29, 2011 7:22 am Post subject: Modular Level Pieces Posted: Tue Nov 29, 2011 7:22 am Post subject: Modular Level Pieces |
 |
|
So I was browsing the site, and I found elementrix's portfolio/gallery, so I took a look. (Awesome work) I saw the modular level construction kit thing, and my one though was, "I want one!"  So I took a couple of hours and made one. I still have to texture it + add some more detail "tiles" and such, but I'm currently pretty happy with it. So I took a couple of hours and made one. I still have to texture it + add some more detail "tiles" and such, but I'm currently pretty happy with it.
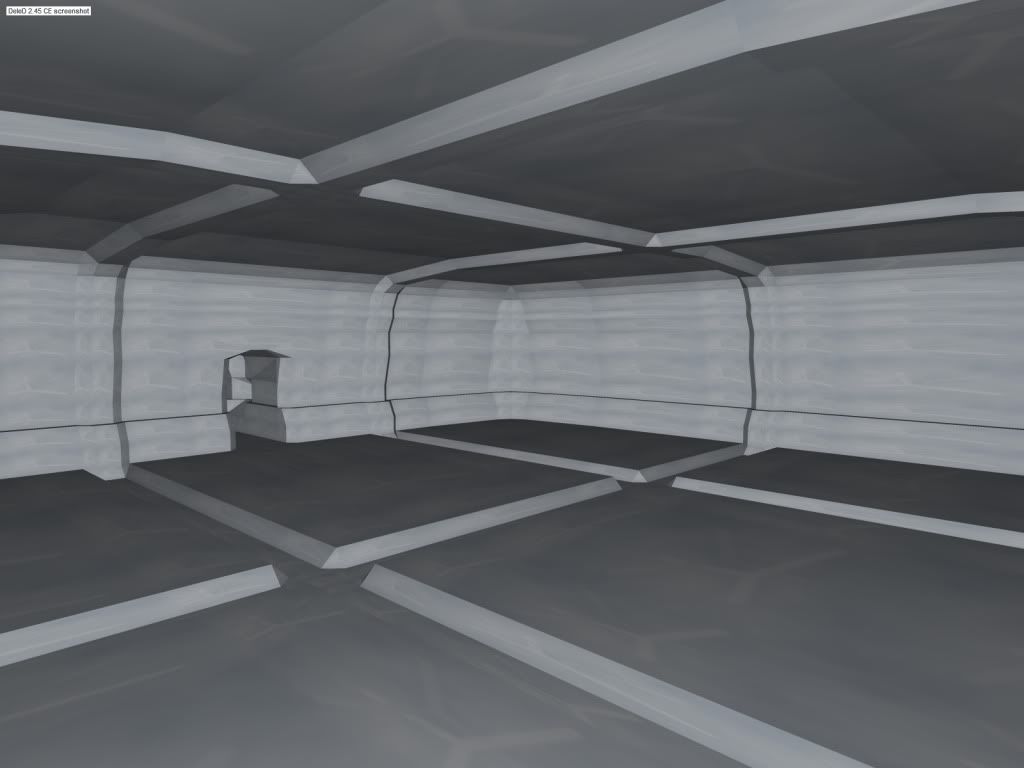
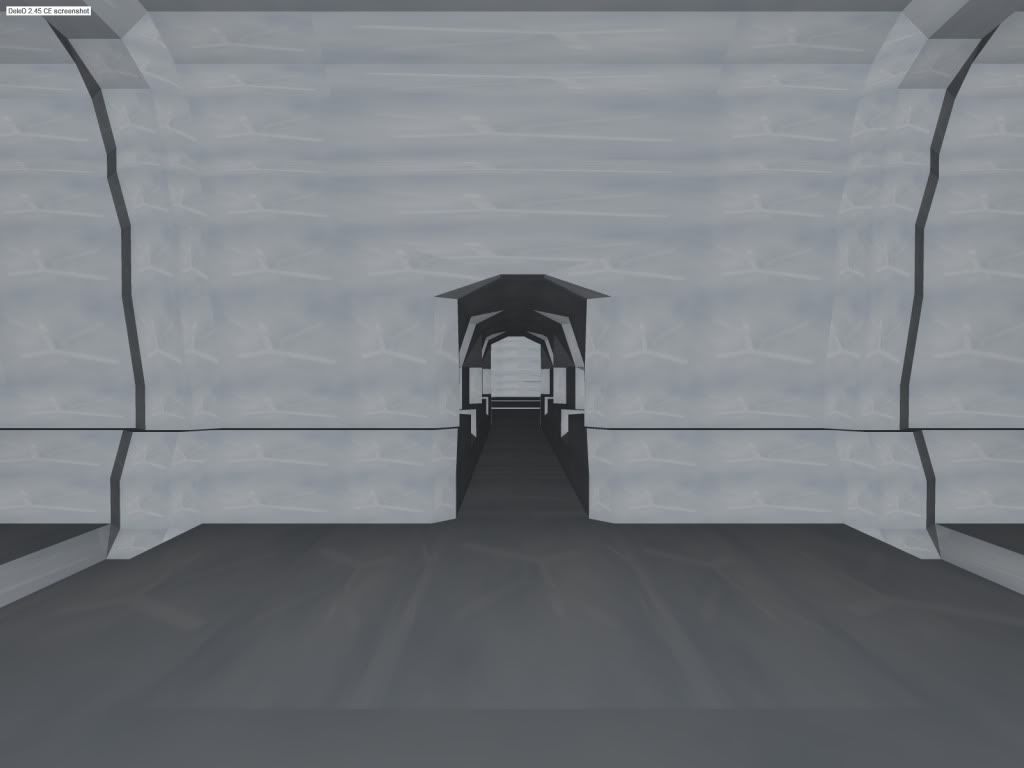
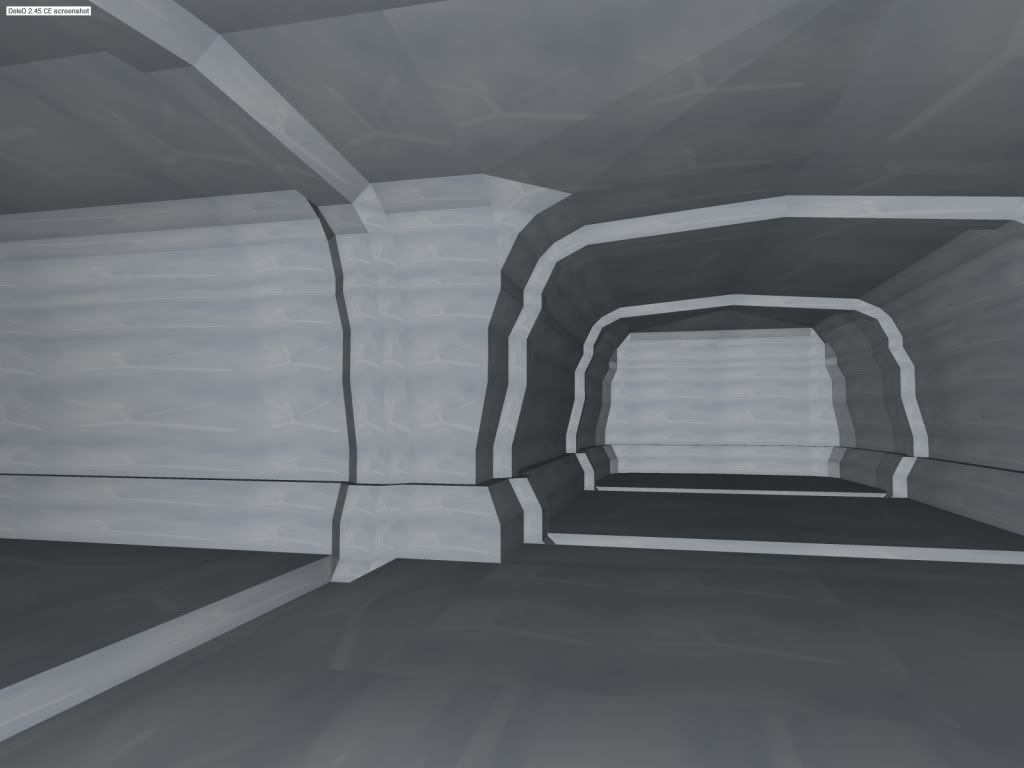
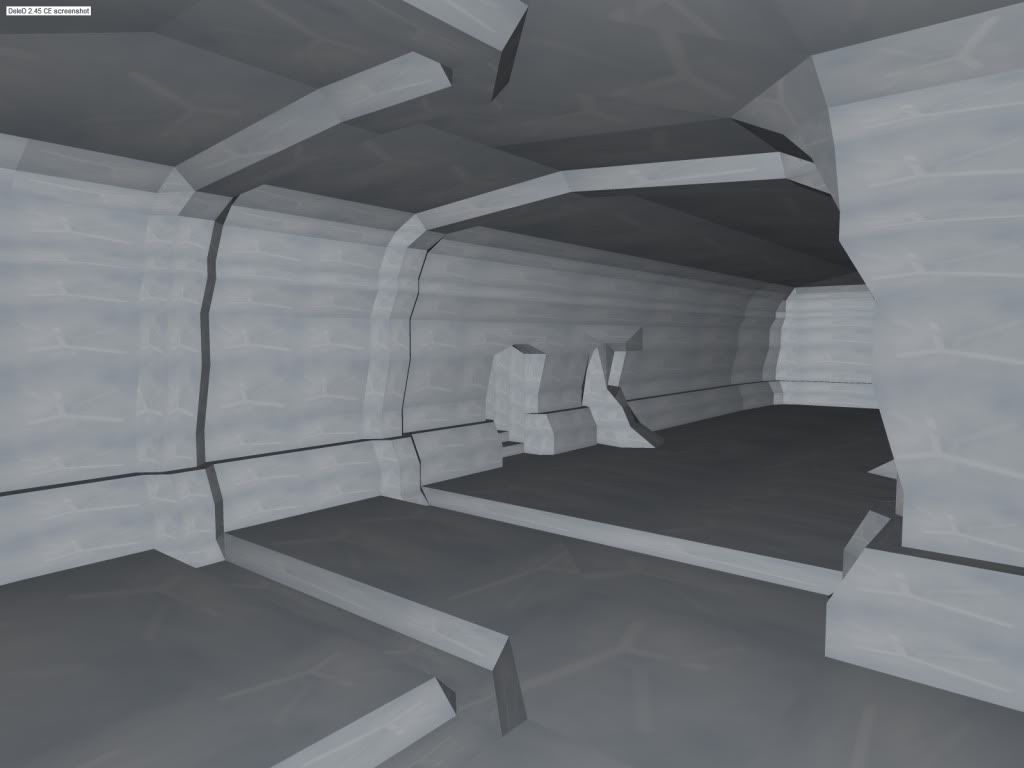
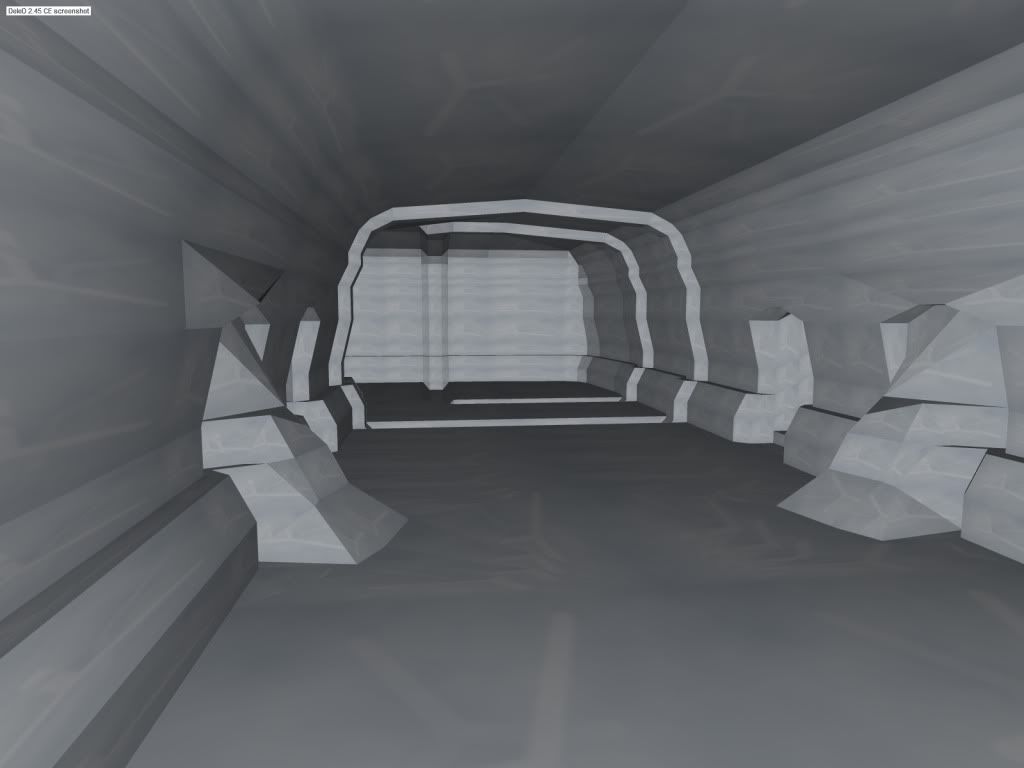
So it's not light mapped... I'm actually having some problems with the light mapper. I can generate the lightmap, but I can't view it without running it through the raytracer. If I hit the light mapped view it either kicks me into the front view, or freezes Deled. Running Vista. (Don't hate)  Any suggestions? Any suggestions? 
_________________
Artwork = Food. Create to survive!
And brraaaiiinnnsss.... That too... |
|
| Back to top |
|
 |
trucker2000
DeleD PRO user

Joined: 11 May 2005
Posts: 1839
Location: Sacramento, California
|
 Posted: Wed Nov 30, 2011 2:38 am Post subject: Posted: Wed Nov 30, 2011 2:38 am Post subject: |
 |
|
optimise/triangulate before lightmapping.
Wish I could make models look that good.
_________________
Some day I will grow up and be a real modeler.
"Never give up! Never surrender!!"
Sys specs:
asus
8 gigs ram
Invidia gtx560 video card
Windows 8 (worst op sys Ever) |
|
| Back to top |
|
 |
Alovon
Member

Joined: 21 Jul 2011
Posts: 21
Location: The Middle of Nowhere... USA
|
 Posted: Wed Nov 30, 2011 3:28 pm Post subject: Posted: Wed Nov 30, 2011 3:28 pm Post subject: |
 |
|
What exactly is the best way to texture something like this? The uv system, or just picking materials I've made? I have the majority of the textures done, I just need to know the best way of going about it in Deled.
_________________
Artwork = Food. Create to survive!
And brraaaiiinnnsss.... That too... |
|
| Back to top |
|
 |
trucker2000
DeleD PRO user

Joined: 11 May 2005
Posts: 1839
Location: Sacramento, California
|
 Posted: Sat Dec 03, 2011 1:33 pm Post subject: Posted: Sat Dec 03, 2011 1:33 pm Post subject: |
 |
|
I don't think there is a "best" way. It's whatever suits your workflow.
For me, I take my base texture, (the one that covers the majority of the faces) and texture the whole object with it. Then I go into face mode and change the face textures for the smaller details.
A couple images to show what I'm talking about.


It's whatever suits you. I found that by going thru and just placing textures on single faces to start with, I'd miss parts.
_________________
Some day I will grow up and be a real modeler.
"Never give up! Never surrender!!"
Sys specs:
asus
8 gigs ram
Invidia gtx560 video card
Windows 8 (worst op sys Ever) |
|
| Back to top |
|
 |
AWM Mars
Member

Joined: 06 Jan 2010
Posts: 1195
Location: Wilts England
|
 Posted: Sun Dec 04, 2011 9:42 am Post subject: Posted: Sun Dec 04, 2011 9:42 am Post subject: |
 |
|
One way to save you a bit of time, when constructing the model, select elements that are going to have the same texture, and create a group. Then you can select by group in the future, when you apply textures.
Also, if you want to change a texture on your model, you can firstly select a single polygon with the texture applied and then use 'Selection, Select polygons by material', this will then automatically select all polygons with the same texture.
NOTE: Only do this if you have not lightmapped your model, or you will have to delete the lightmaps, in the edit menu, first.
Alternatively, Select a textured polygon, then open the UV mapper viewport, then hold down the Shift key and drag a selection window over all the polygons in the window (you may need to zoom out to see them all). Then you can simply apply a new texture to replace the existing one, from the Materials window selector, by clicking on it.
As trucker2000 has already said, 'there is no best way' until you find it to suit yourself 
_________________
Politeness is priceless when received, cost nothing to own or give, yet some cannot afford.
Checkout:
http://www.awm.mars.yourinside.com/
http://www.bccservices.co.uk
http://www.localtradecheck.co.uk |
|
| Back to top |
|
 |
Alovon
Member

Joined: 21 Jul 2011
Posts: 21
Location: The Middle of Nowhere... USA
|
 Posted: Sun Dec 11, 2011 6:07 am Post subject: Posted: Sun Dec 11, 2011 6:07 am Post subject: |
 |
|
I actually texture the object first, then copy it so all the data is stored ahead of time. This being after the fact that I experimented with it for a few days.
I've developed a pretty decent way for texturing my static scenery and such. I tested it out on the Dungeon crawler thing I posted. I extensively use layers in photoshop to create the effect. Here is a quick rundown.
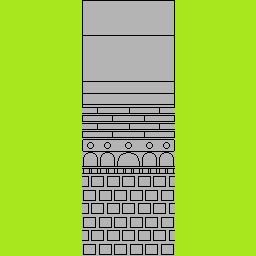
First, I organized the polys with box mapping and such, and drew this little thing in paint all by hand. (Elementrix's tutorial was very helpful for figuring this part out.) (Oh and this is the only part of the texture actually used. I just expanded it left and right for fun later.)
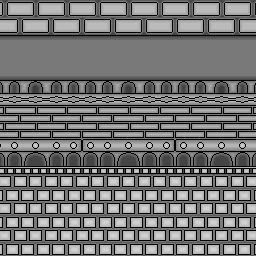
Next, I shaded the whole thing in, and separated the colors of each different "level" in the picture. Like how the bricks are lighter than the grout. All still done one by one in paint... (Took a while. Lol.)

This last part was a ton of steps all compressed into one seeing as I didn't have a ton of leftover pictures detailing exactly what I did. But the basic steps were this. (All done in photoshop) Take each different part of the background image, (I considered all the bricks to be one part) Copy them and create a new layer. Paste them in and apply the filters you feel fit. (I used craquelure and multiple blur passes) Then choose your blending mode. (Multiply for mine) Then once you've finished every section I made a topmost layer and used Floor04 I think as a top layer, set it to multiply, and dropped the alpha down a good bit. Then blur as you see fit. That produced a fairly decent texture for me. It's a technique I'm probably going to keep. So yay! I figured something out!
[EDIT]
It's Kinda like ghetto-fake-bump mapping! 
_________________
Artwork = Food. Create to survive!
And brraaaiiinnnsss.... That too... |
|
| Back to top |
|
 |
|
|
You cannot post new topics in this forum
You cannot reply to topics in this forum
You cannot edit your posts in this forum
You cannot delete your posts in this forum
You cannot vote in polls in this forum
|
|


