DeleD Lite Lighting Tutorial
Putting the light into DeleD Lite
Table of contents
IntroductionGetting Started
Outdoor Light
Indoor Lights
Conclusion
Introduction
This step-by-step tutorial will show you how to add basic lighting to a level using DeleD Lite. Lighting in DeleD Lite is rather limited, for a overview of the much better lighting in DeleD PRO see here (link under construction).While reading this tutorial, please keep in mind that I am a programmer, not a modeller, so please forgive me if the end-result of my actions is not particularly aesthetic.
Disclaimer: as all screenshots in this tutorial were made on my development machine, there may be small visual differences with the actual DeleD version as it appears on your screen at home.
Getting started
We'll start by loading our level. For the purpose of this tutorial, we'll be using CastleSiege.dmf. Simply press CTRL+O (or use the mouse) to open up the Open File dialog. Since this map is included in the standard DeleD distribution, you should be able to locate it in your Map Files folder. Select it, and hit OK.Outdoor light
Any map that has outdoor scenery will usually have one outdoors lightsource representing the sun or moon. Or, in some exotic extra-terrestial settings, you may even consider using multiple coloured lightsources (representing multiple coloured moons, for example).In the PRO version you would want to use directional lights for this purpose, but as the Lite version only offers point lights, that is what we'll use. First switch the GUI back from Scene to Create/Edit mode. Then, from the Create Item tree, select a Point Light by clicking it.
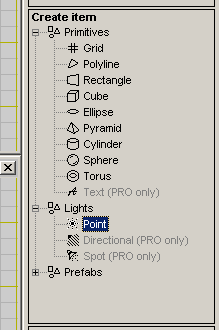
Place the Point Light in the scene by clicking anywhere in one of the views. Now select the light (using SHIFT+left-mouse click) and move it to the desired location. Remember, this light will represent our 'sun' (or moon), so it would be best to place it somewhere up high, and as far away from your actual scene as possible. If you are planning to use the map in an external program that displays a skybox, it would be wise to consider where the light source is located in the skybox.
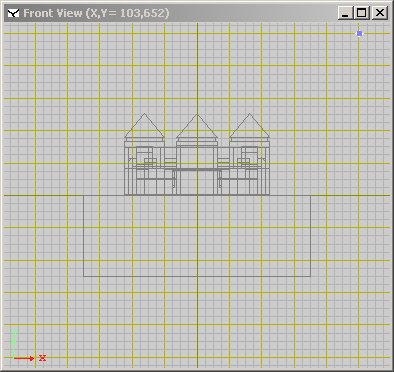
For now, just put the light at location (1280,1280,1280) (or somewhere close to it):
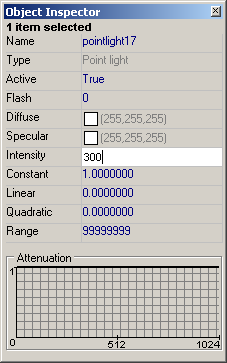
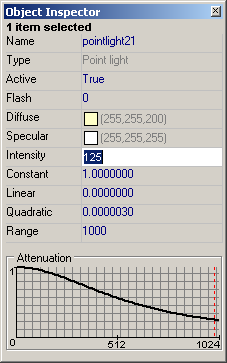
Now we'll take a peek at the object inspector. If it's not already open, activate it from the View menu. There are two options here we'll want to change:
- intensity - The intensity form the light. As we are not modeling some silly lightbulb, but the primary light source of our planet, let's crank it up a bit. A value of 300 will do.
- quadratic - This is the quadratic attenuation of the light. The attenuation defines how much the light intensity declines over distance. However, we are modelling the light from the 'sun' right now, so we don't want it to decline at all. Simply set this value to 0. See how the attenuation graph turns into a flat line?
- range - This is the maximum range for the light, and merely serves to optimize the calculation of the lighting model. Whenever the light reaches the distance defined by this range, it is cut off rather briskly. Again, we are modelling the 'sun'. Because sunlight should be able to continue into infinity, we'll change this into 999999.
Now it's time to get rolling: move the object inspector to the side so it won't be in your way, and hit CTRL+ALT+L to activate the lightmapper. First of all, your scene will be triangulated (which is why it is smart to finish most of the modelling first, before you start adding lights). Then, the lightmapper will calculate the lighting. If your hardware isn't too shabby, this shouldn't take more than a moment. Let there be light:
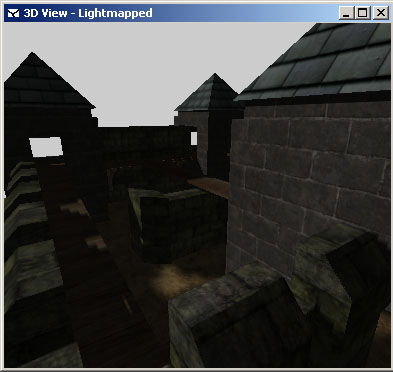
You might notice how the shadows look a bit blocky and coarse. The reason for that is that DeleD Lite only allows you to render low resolution lightmaps. The solution? Get DeleD PRO.
As any light adds to the total rendering time of the lightmap, we might want to make this light inactive now that we are satisfied with it. To do so, go to the object inspector and change the value of the Active property to false.
Indoor lights
Now let's take a look at one of those two towers at the front of the castle.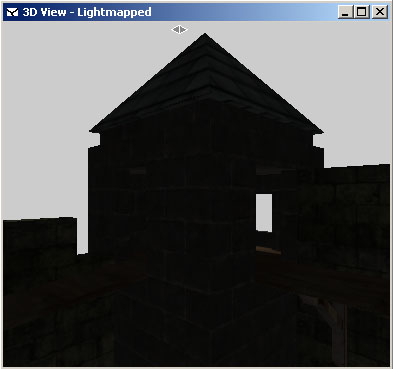
Looks rather dark, doesn't it? Let's add some torch-like lighting to this room. Create another point light and place it in the center of the tower (I put mine at (417, 331, 502)). Regenerate the lightmap by pressing CTRL+ALT+L.
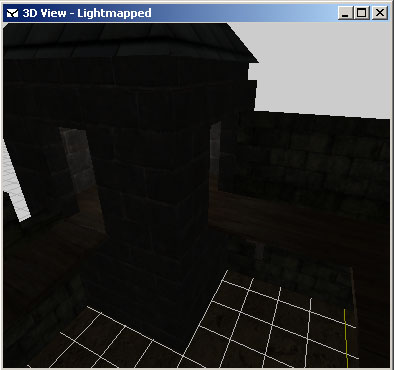
Hmmm, it doesn't look bad, but I'd expect a torch to give a little bit more light, in a warm, cozy, yellowish colour. Let's open the Object Inspector, and:
- Change the Diffuse colour component of the light to a nice bright yellowish tint:
open up the colour dialog using
 , and enter 255, 255, 200 for Red, Green and Bblue respectively.
Press OK to confirm.
- Change the Intensity to 125.
Time to hit the magic buttons again, CTRL+ALT+L. The torch-lit tower now looks like this:
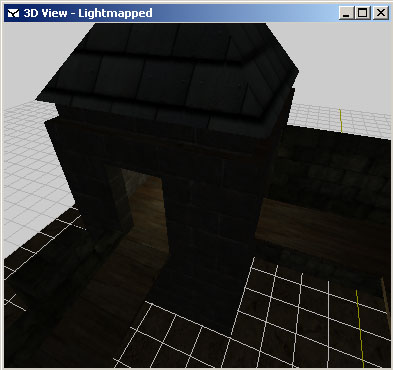
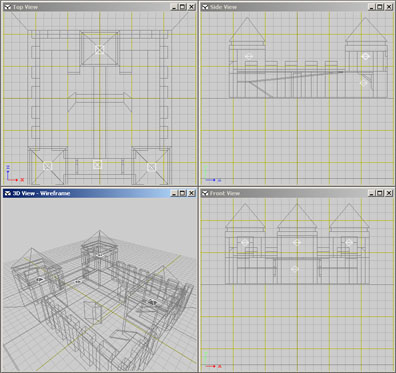
Ahh, much better. Now we are satistified with the properties of our light, let's re-use it. Use the spacebar to clone the light, and place the clone in the other tower. Put another one under the planking, right in between the towers. And one in the tower on the opposite (back) side of the castle. As an overview, the screenshot below shows all lights selected:
Now it's time to render our final lightmap. Make sure to re-activate our "sun" light, as well as any lights you might have de-activated before using the object inspector, hit CTRL-ALT-L, and sit back for a while.
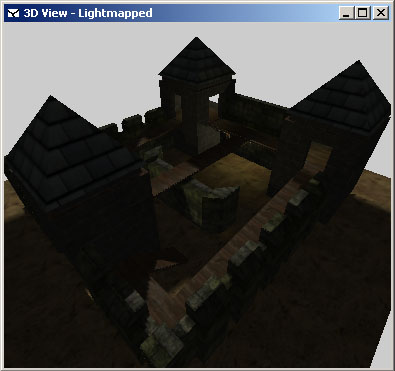
Our basic lighting is now done. In retrospect, I'm thinking that with the torch-light and all, maybe this should be a night-scene. As a basic exercise, try following the steps below. Or just skip to the conclusion if you want to see the final result.
- Select the sun light, and change it's color to a blueish hue by giving R, G and B the values 230, 230, 255 respectively. Change the intensity to 150. Our "sun" is now officially a moon.
- In the moonlight, shadows are not as sharp and harsh as during the day. Open up the Scene Properties, set Shadow Opacity to 50 as shown below, and re-render the lightmap.
- Find a starry skybox on the internet, or create your own. Add this backdrop to the scene using the Environment Options.
- Hit SHIFT+F8 to render the lights invisible in the 3D view.
- Right click on the 3D view and use the DeleD screenshot system to create a nice anti-aliased shot.
Conclusion
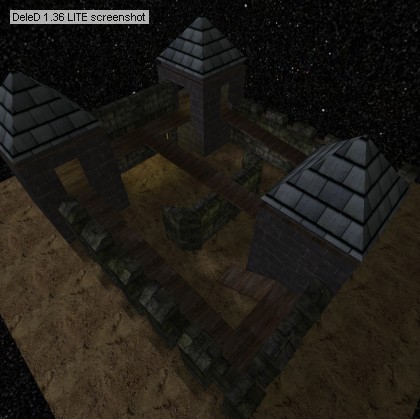
In this tutorial we've put some of the basic concepts of the DeleD Lightmapper to use. The results of our efforts can be seen below. It does look a bit dark, but that's mainly because you are viewing the image in the (pretty bright) Delgine Website. Walking through this starlit castle in a fullscreen application is a wholly different experience!Applying good lighting to model requires time and skill. If at first you don't succeed, just keep at it. In time you'll master this often overlooked third step in the modeling process (geometry, texturing, lights!), and be able to produce results that are a lot more pleasing to the eye than this little castle...
